At Mailfence, we strive to make your email experience as secure and private as possible. With the new Mailfence mobile app, we now bring this commitment right to your fingertips, letting you take your secure, private communication wherever you go.
What started as an email app has grown into a full productivity suite. The Mailfence mobile app is now out of beta and available on both iOS and Android, giving you access to all your core Mailfence tools on the move.
This article details the current functionalities of the Mailfence mobile app, including:
- Messages: composing emails, adding attachments, and organising with tags and folders;
- encryption and digital signatures — password (symmetric) encryption, end-to-end (OpenPGP) encryption, and digital signatures;
- Documents: your secure cloud storage;
- Calendar: your events and appointments;
- Contacts: your private and shared address books;
- Settings: manage your account, messages, calendar, contacts, and document preferences.
As we continue to improve on the feature of the Mailfence mobile app, we will update this article (last update: 12.6.2026).
Our mobile app is also open-source, meaning anybody can inspect the code.
Introducing the Mailfence Mobile App
If you haven’t yet, make sure to download our mobile app:
- on the App Store
- on the Google Play Store
- by downloading and installing the APK file

Navigating the App
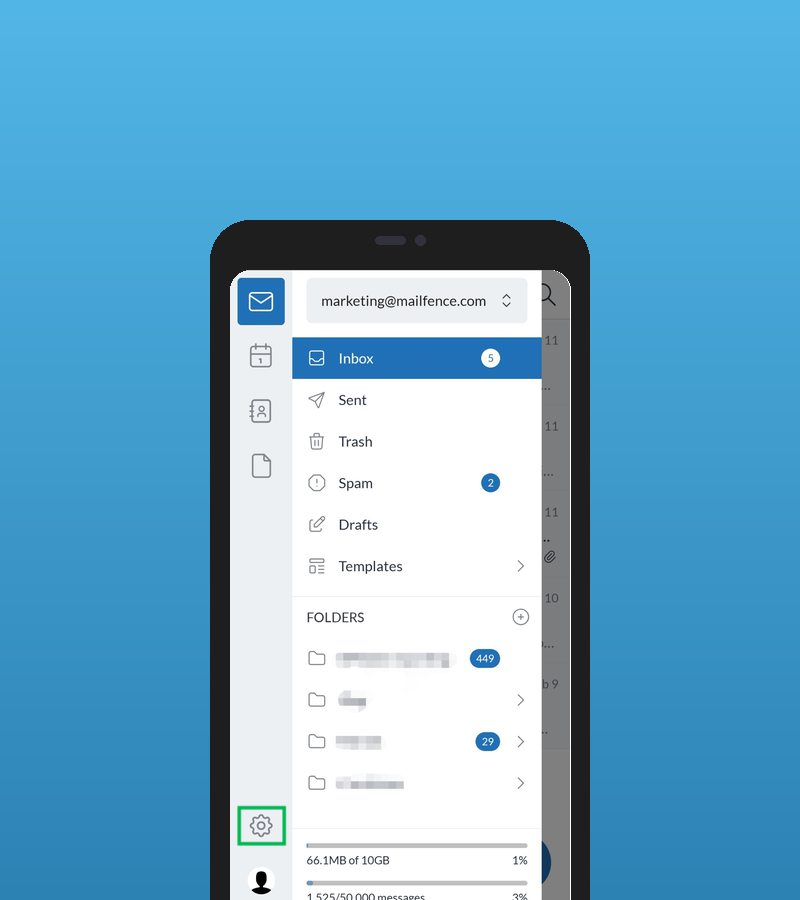
The Mailfence mobile app is no longer just for email. It is now a full productivity suite, giving you access to your Messages, Documents, Calendar, Contacts, and Settings, all from one place.
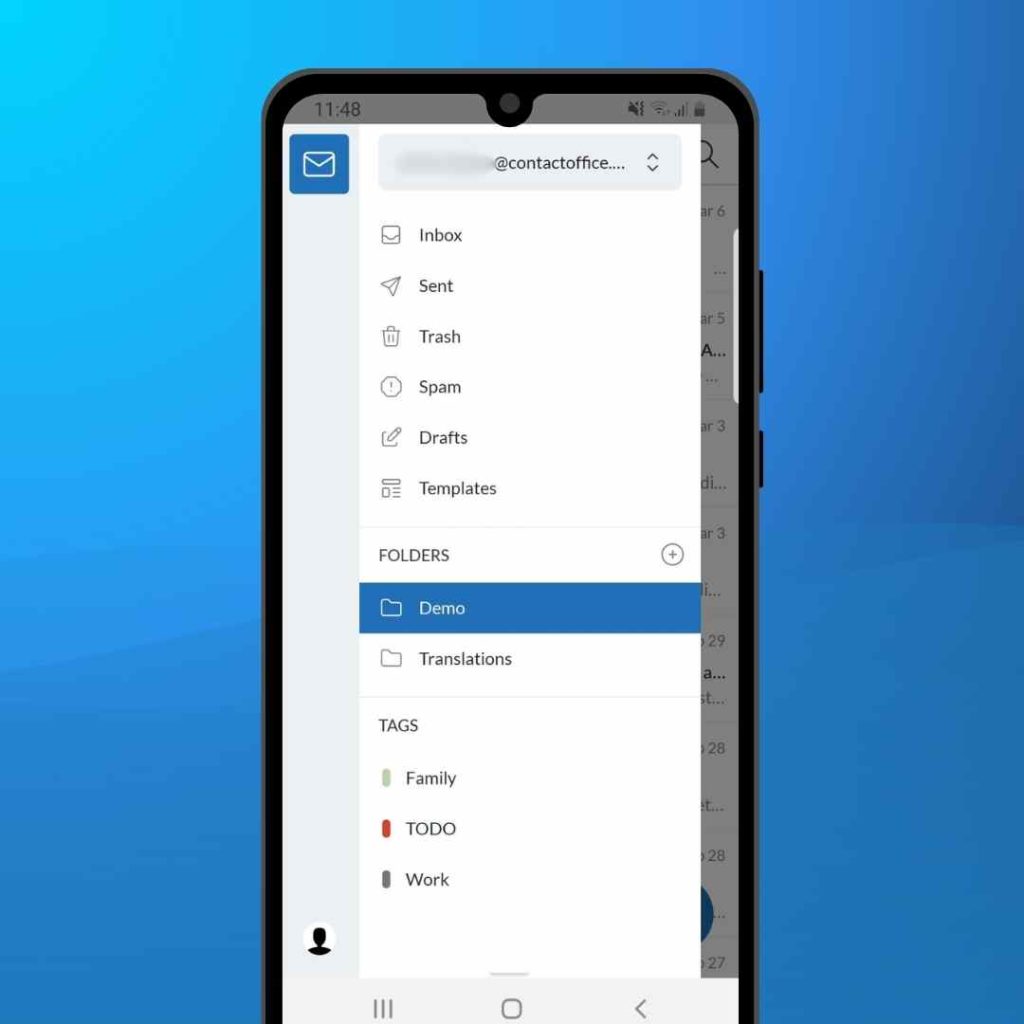
To move between these tools, tap the 3-lines “Menu” icon at the top-left corner of the app to open the left sidebar. From here you can:
- switch between Messages, Documents, Calendar, and Contacts;
- open your Settings by tapping the gear icon at the bottom-left of the sidebar;
- switch between your personal data and any shared group data by selecting a group at the top of the sidebar.
To find something quickly, you can use search. Each tool has its own search (for example, the magnifying glass inside Calendar and Contacts), so you can look for a specific email, event, or contact wherever you are.
Composing your first Email with the Mailfence Mobile App
The Mailfence mobile app is a powerful tool that allows you to preserve your online privacy and security wherever you go.
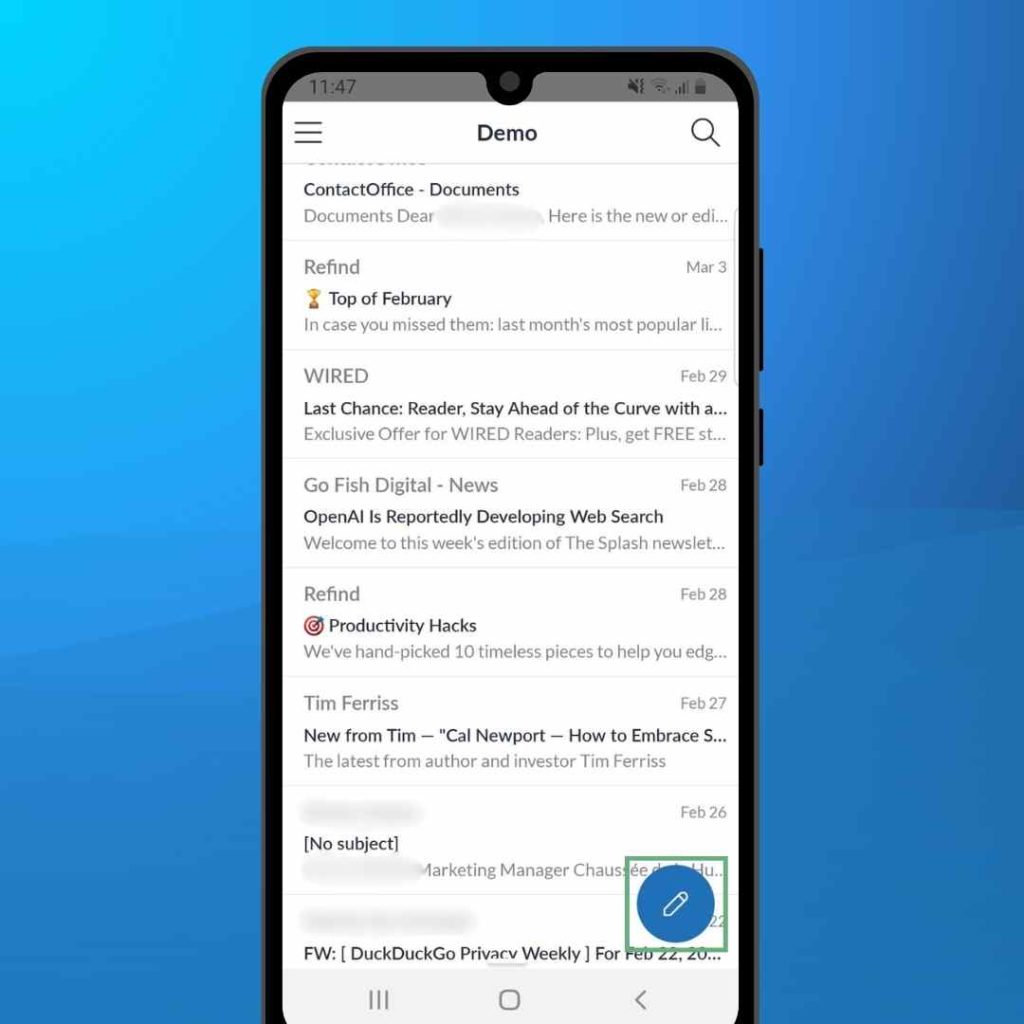
To compose an email, tap the “New message” icon on the bottom-right corner of your screen:
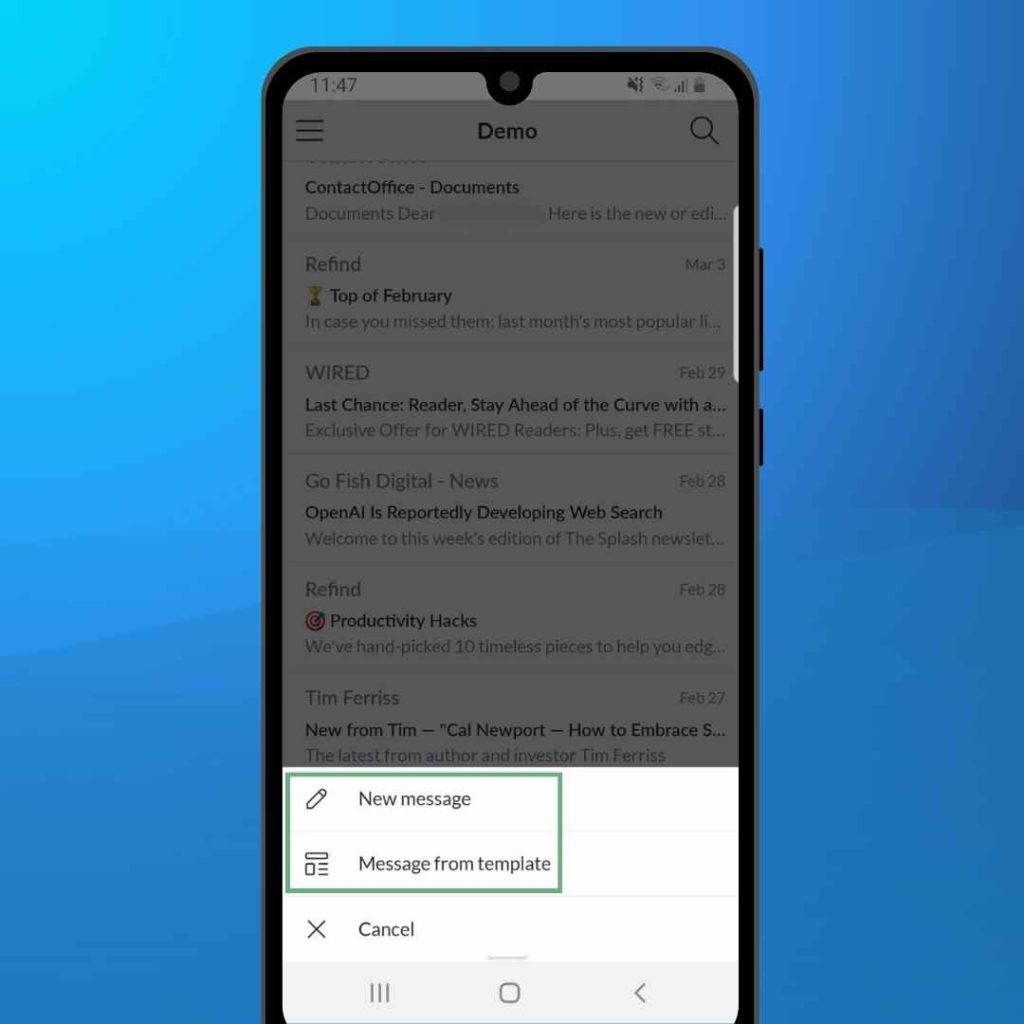
You can also tap and hold the “New message” icon. This will let you:
- compose a new message from scratch
- compose a new message from template
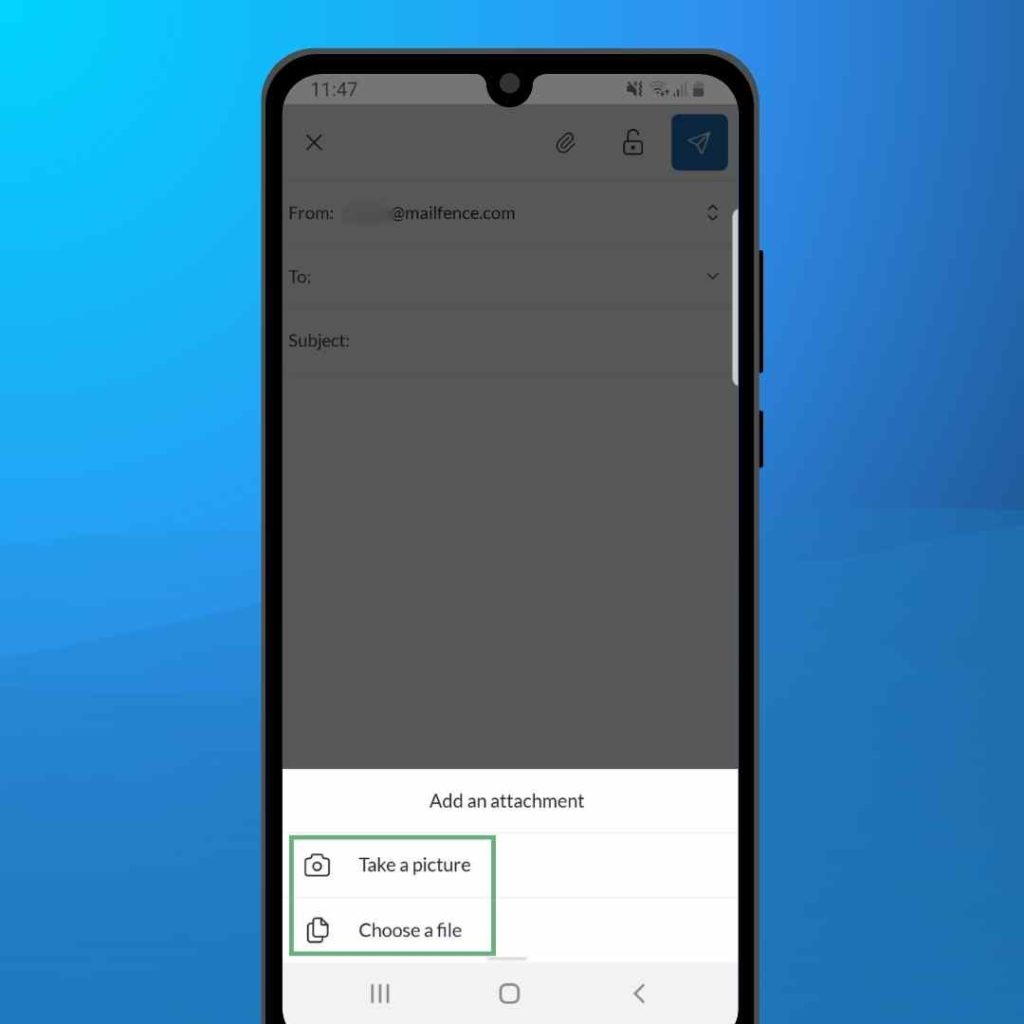
To add an attachment, tap the paper clip icon at the top. You can then choose to:
- take a picture and attach it to your email
- choose a file on your device
Using Tags and Folders
Tags and folders are the best way to keep your inbox organized. Here are all the different options you have:
- To move an email to a folder, tap and hold on that email. Then tap the “Move to folder” icon at the bottom-left corner of your screen. Select the folder you wish to move your email to.

- To assign a tag to an email, tap and hold on that email. Then tap the 3-dots “More” menu at the bottom-right corner of your screen. Select “Tags”, then the appropriate tag. Finally, tap “Save”.
- To find an email that has been moved to a folder or assigned a tag, tap the 3-lines “Menu” icon at the top-left corner of the app. You can then select a specific folder or tag to consult.
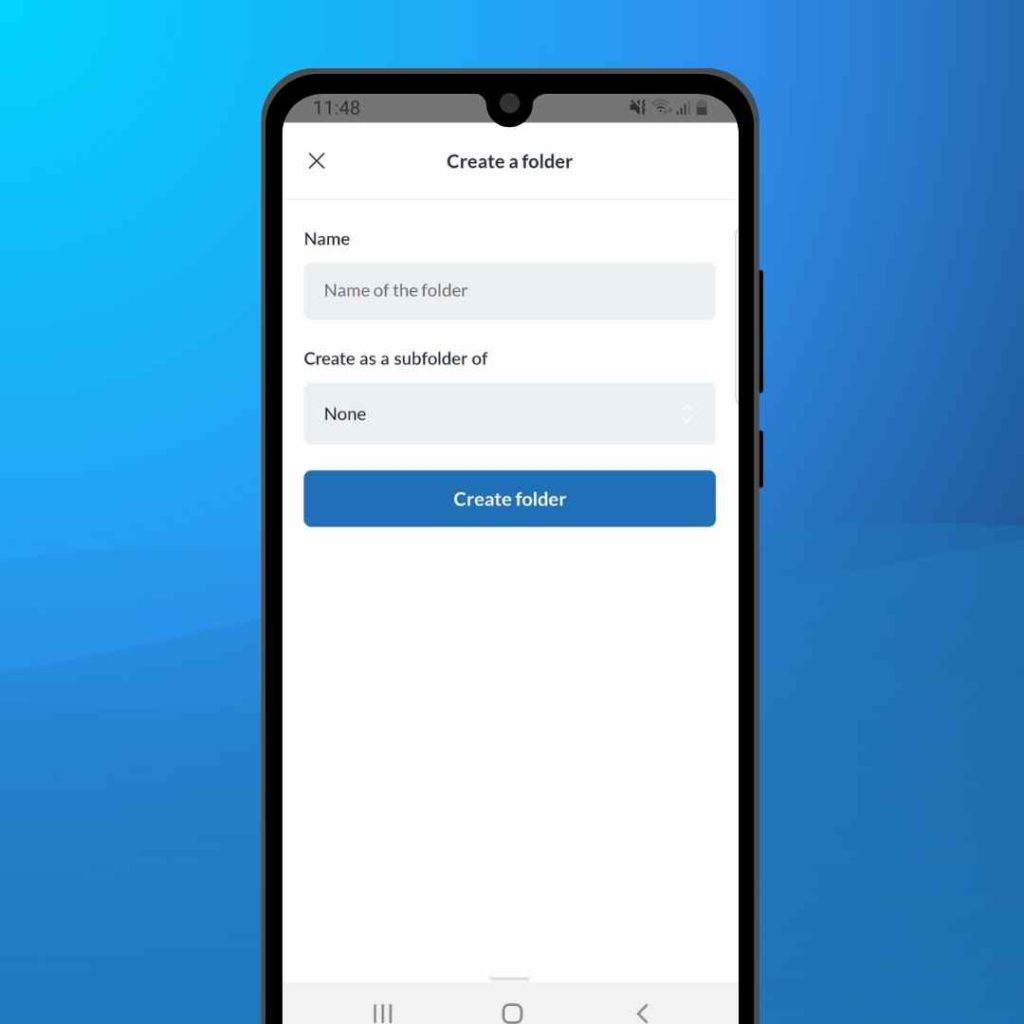
- To create a new folder, tap the 3-lines “Menu” icon at the top-left corner of the app. Next to “Folders”, tap the “+” icon. Choose a name and (optionally) a parent folder, then tap “Create folder”.
Encryption and Digital Signatures
Encryption ensures only you and the recipient can read the content of your conversations.
The Mailfence mobile app offers two types of encryption:
- Password encryption (aka symmetric encryption)
- End-to-end encryption (aka asymmetric encryption)
Using password encryption in the Mailfence mobile app
To encrypt an email with a password, start composing a message. Then, tap the “Encryption” icon at the top of the screen.
Next, select “Password protected”. Enter a password, then confirm it.
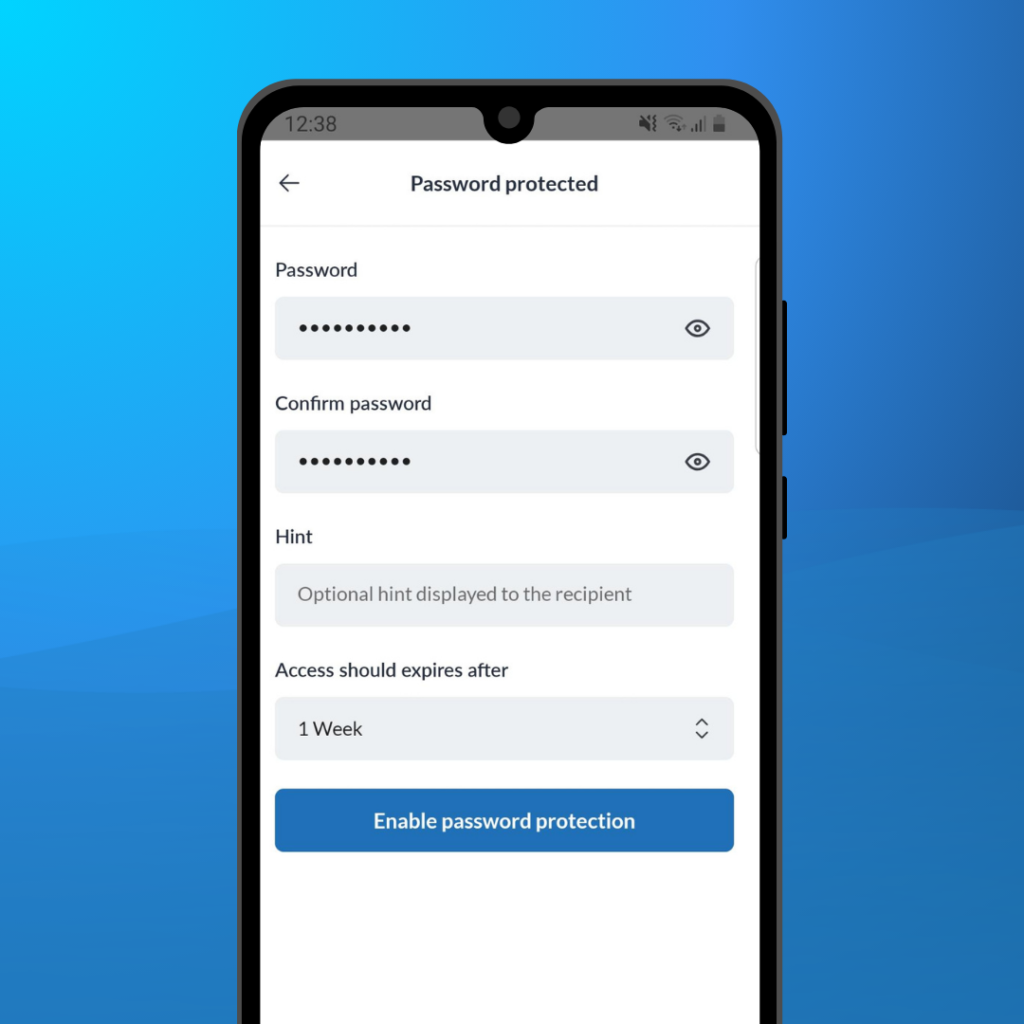
You can also enter a “Hint” that the recipient will be able to read (in case they forget the password). Finally, you can enter an expiry date (up to 4 weeks). After this time, the recipient will no longer be able to access the email.
If you want to learn more about password encryption, check out this guide here.
Using end-to-end encryption in the Mailfence mobile app
Mailfence uses the OpenPGP protocol for its end-to-end encryption. You can learn more about it in this guide here.
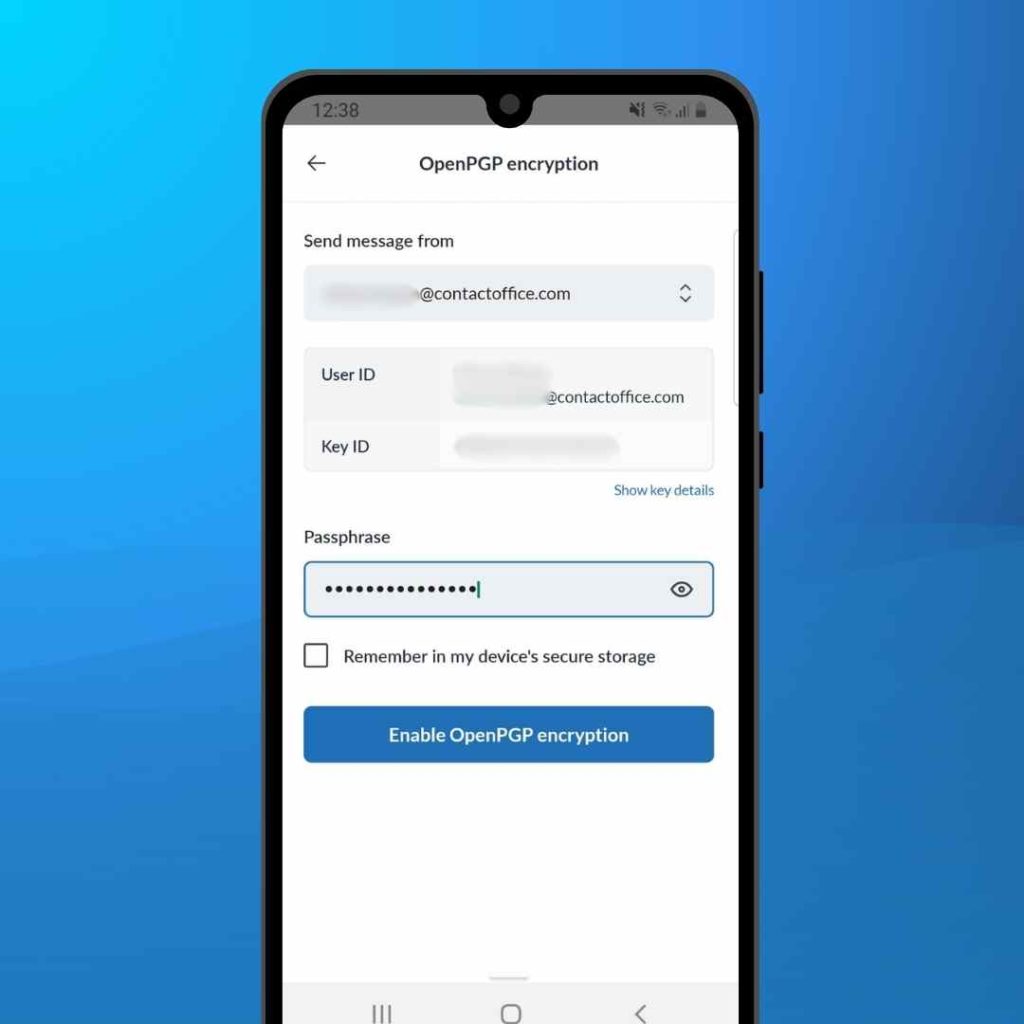
To encrypt an email with OpenPGP, start composing a message. Then, tap the “Encryption” icon at the top of the screen.
Next, select “OpenPGP encrypted”. Check your key details, then enter your passphrase. Tap “Enable OpenPGP encryption”.
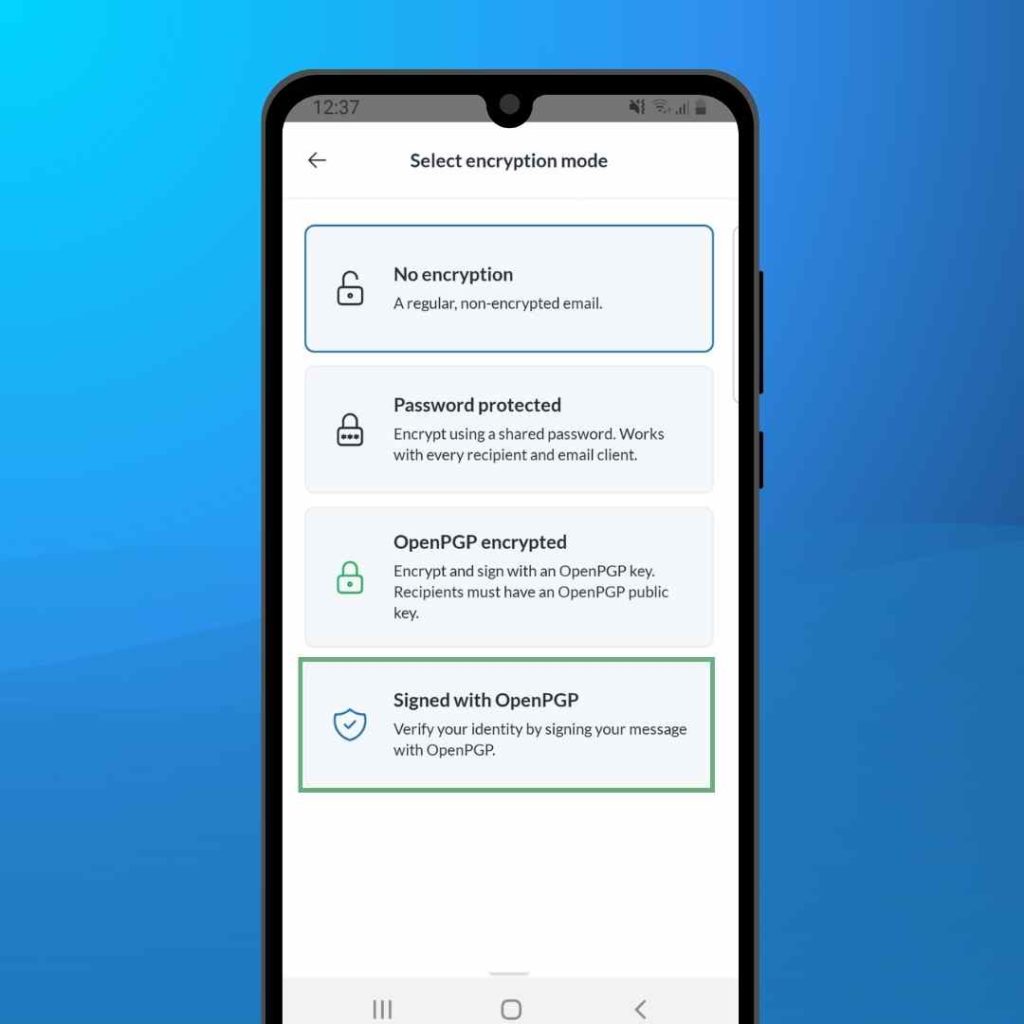
Digital signatures
To sign an email using OpenPGP, start composing a message. Then, tap the “Encryption” icon at the top of the screen.
Next, select “Signed with OpenPGP”. This will assure the recipient that the email genuinely originates from you, the verified sender, and also confirms that the email has not been altered in transit.
Using Documents
Mailfence Documents, our cloud storage solution, is available right inside the mobile app. Just like on the web app, you can create, upload, edit, download, and share your documents on the go.
To access your documents, tap the “Documents” icon on the left sidebar.
To see what you can do with a document, tap the 3-dots icon next to it. From here you can:
- delete a document;
- rename a document;
- edit the document (when possible);
- add a comment;
- assign a tag;
- move the document to another folder.
To add a new document, tap the large “+” icon at the bottom-right of the screen. You can upload any file stored on your device — or you can instantly take a picture or write a note and upload that instead.
To access documents shared with a particular group, open the left sidebar and select the group at the top.
Using the Calendar
Mailfence Calendar lets you schedule, manage, and track your meetings and appointments from your phone. You can create and update events, set recurring events, and share calendars — all on the go. Your mobile calendar is fully synced with the web app, so any event you create on your phone appears immediately when you log in from your computer.
To access your calendar, tap the “Calendar” icon on the left sidebar.
You can choose between three views:
- Day – an overview of every event scheduled on a specific day;
- Week – an overview of the events planned for a given week;
- Month – a full month overview.
Among other things, you can add an event, view event details, cancel an event, set a recurring event, tag an event, and add a comment to an event.
To create a new event, tap the large “+” icon at the bottom-right of the screen. Alternatively, you can:
- long-press a time slot while in Day view;
- long-press a day while in Month view.
Either action opens the “Create event” window.
Recurring events: when you delete a recurring event, the app asks whether you want to remove just that single instance or the entire series, giving you full control over your schedule.
To find a specific event, tap the magnifying glass at the top-right corner of the screen.
You can also reply to meeting invitations directly from your Messages.
Using Contacts
Mailfence Contacts, our contacts management solution, lets you manage your address book on the go. You can:
- access your private and shared contacts;
- manage your contacts with labels and comments;
- search your private and shared address books;
- access your mailing lists.
To access your contacts, tap the “Contacts” icon on the left sidebar, right below your Documents.
Tap any contact to see all of its available information. From a contact’s details, you have three ways to reach them:
- email (if an email address is available);
- call (if a phone number is available);
- text message (if a phone number is available).
Editing and creating contacts
To edit a contact, tap “Edit” at the top-right of the screen, or tap the pencil icon at the bottom-left. You can update details such as name, email address, phone number(s), address(es), job title, company, tags, and more.
You can also save a new contact directly from a received email: double-tap the email address in the “From” field, then select “Save in Contacts”. You can edit the details further before saving.
To create a contact from scratch, open your contact list and tap the large “+” icon at the bottom-right. Fill in the details, then tap “Save”.
Sharing contacts
One of Mailfence’s biggest advantages is the concept of groups. A group is a collaboration space where you can share data, such as mailboxes, calendars, documents, and contacts, with other users. For example, you can create a family group and share a contact list so that everyone in the group has access to it.
By default, you have access to all the contacts already in your Mailfence account, and any contact created on the web app is immediately available on mobile (and vice versa). To synchronise your Mailfence contacts with your smartphone’s native contacts, enable ActiveSync, available with our Entry plan.
Managing your Settings
You can now manage your most important settings directly from the app. Tap the gear icon at the bottom-left of the sidebar to open the Settings screen. The interface is organised by category and searchable, so you can use the search bar at the top to find a specific setting quickly.
Settings are grouped into five areas: Account, Messages, Calendar, Contacts, and Documents.
Account settings:
- General preferences – set your language, time zone, and date format, and opt in or out of our Privacy Newsletter;
- Personal data – update your name and profile information;
- Security – change your password and recovery email, and manage two-factor authentication;
- Billing and plan – view your subscription and upgrade if needed;
- Notifications – control push notifications and email alerts;
- Tags – create and manage colour-coded tags to organise your emails, contacts, documents, and calendar.
Message settings:
- General display options – choose how your emails appear in your inbox;
- Folders – create, rename, or delete email folders;
- Signatures – set up different signatures for each email identity;
- Aliases – manage your email aliases and alternate addresses;
- Short Domain – enable shorter @mf.me email addresses;
- Away message – set up automatic out-of-office replies;
- Filters and rules – whitelist domains and automatically sort incoming emails into folders.
Calendar settings:
- Display preferences – set your default view, colour, and first day of the week;
- Other calendars – connect, view, and manage external calendars.
Contacts settings:
- Display options – choose how your contacts are sorted and displayed.
Documents settings:
- Cache management – clear cached files to free up storage space on your device.
These settings sync with your web account, so any change you make on mobile will appear when you log in from your computer.
Languages
The Mailfence mobile app is available in English, French, German, Italian, Spanish, and Portuguese, bringing it in line with the language options on the web platform. To change your language, go to your Account settings and select your preferred option.
Are you having issues with the Mailfence mobile app? Do not hesitate to contact our support to let us know! We will always value your feedback and input as we continue to develop our app.