To synchronize Mailfence contacts and calendar events with Thunderbird, you’ll need one of the following add-ons:
TBSync (for Calendar and Contacts)
1. Open Thunderbird client and go Add-ons and Themes.
2. Install TBSync and Provider for CalDAV & CardDAV add-ons.
3. Open the TBSync account manager by clicking on Tools -> Add-on Preferences -> TBSync. Then, Click on Add new account (at the bottom left) -> CalDAV & CardDAV.
4. Select Automatic Configuration and click on Next.
5. Then provide the following configuration details:
Account name: Display name of your account.
Username and Password of your account.
Server URL: https://mailfence.com
6. Click on Finish.
7. Once done, you can then open your TBSync account manager and check Enable and synchronize this account.
- The list will include both your private and group resources (except for other calendars: group member calendar, external calendar).
8. Click on Synchronize now.
Note: You can enable AutoSync by setting up a sync interval in minutes. TbSync will then synchronize your account automatically.
Lightning Calendar (for Calendars only)
1. Open Thunderbird client.
2. Install Lightning Calendar add-on.

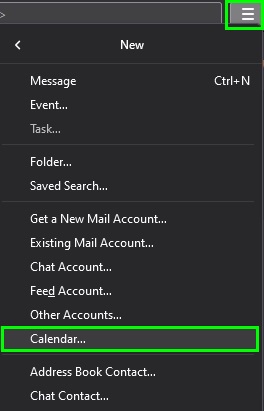
3. Go to File -> New -> Calendar.

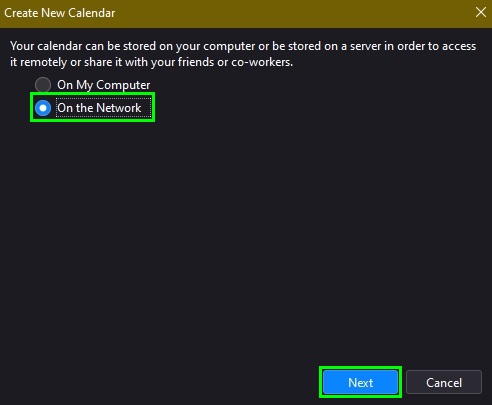
4. Select On the Network.

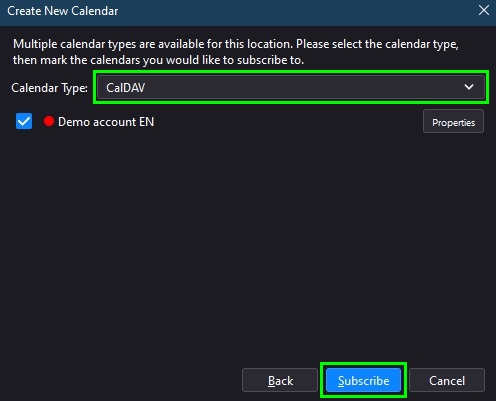
5. Select Format: CalDAV.
- Location:
- For private calendar: https://mailfence.com/dav/USERNAME/private/events
- Please use the USERNAME of group member if you would like access his/her calendar (depending on the provided access rights).
- Layered calendars: External calendar is not accessible in CalDAV clients.
- For group calendar: https://mailfence.com/dav/groups/GROUPNAME/events/
- For private calendar: https://mailfence.com/dav/USERNAME/private/events
- Keep Offline Support checked to access your calendar while offline.
6. Enter display Name of your Calendar, select the Colour and Email address of your Mailfence account.

7. Click on Finish.
If you are still unable to sync contacts and calendar events with Thunderbird, please contact support@mailfence.com (PGP key).