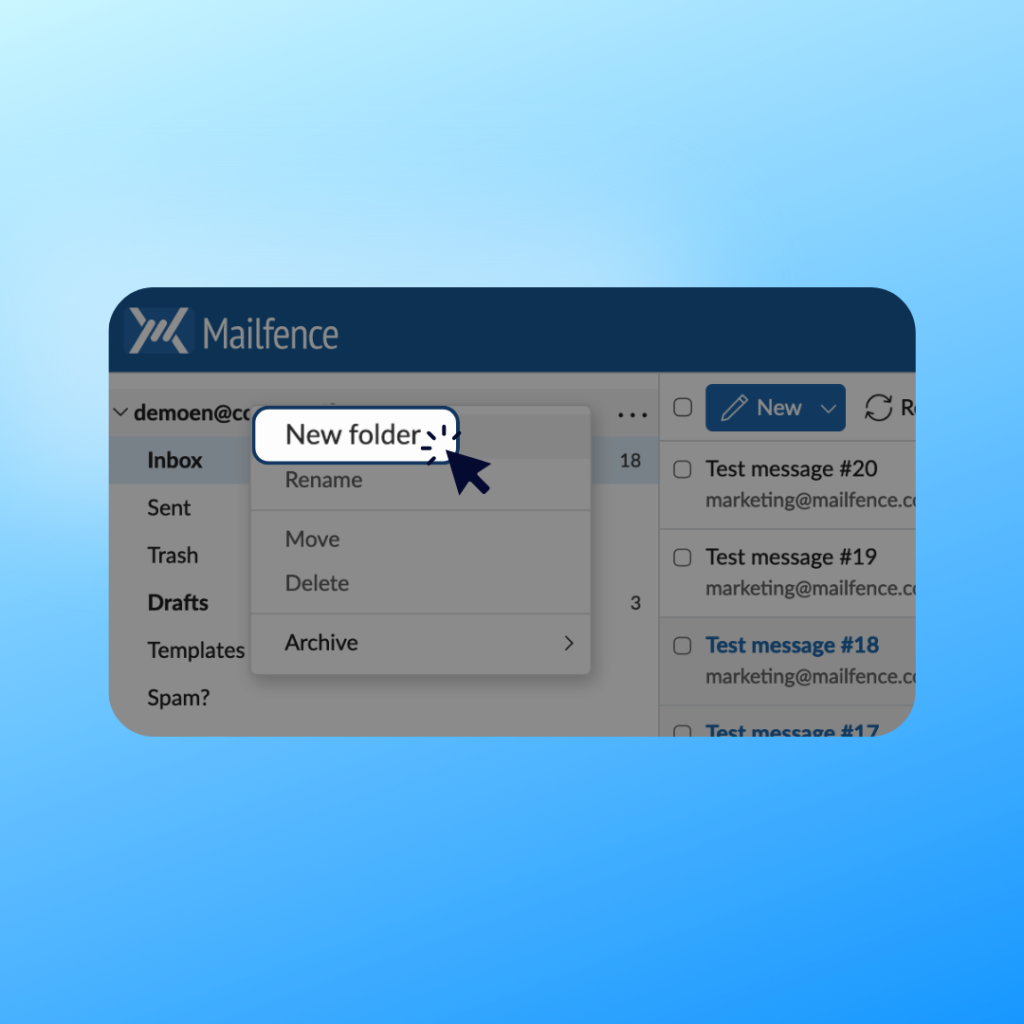
Are you looking for a way to keep your inbox organized? Then you need to start using custom email folders.
In this guide, we will cover what email folders are, and how to create new ones in your Mailfence account.
What are custom email folders?
An email folder is a simple way to organize your emails. Just like you organize the files on your computer into separate folders, you can organize your emails into separate folders.
Every account features the same default folders:
- “Inbox” (received messages)
- “Sent” (messages sent)
- “Trash”
- “Drafts”
- “Templates”
- “Spam?”
These folders cannot be renamed or moved.
How do I create new email folders?
Want to create a folder for all your professional emails? Or for all your banking-related emails? Easy!
Follow these steps to create your folder:
- Choose the root folder. This is where your folder will be located. You can choose the “base layer” (same level as your Inbox, Sent messages etc.) or a sub-folder.
- Right-click on it.
- Select New folder.
- Enter a name and hit the Enter key.

How do I edit an email folder?
Once a custom folder is created, you can operate a number of operations on it.
Namely, you can:
- Move a folder. To do this, select the folder with the mouse and drop it on the destination folder.
- Rename a folder. Click on Rename in the Actions menu of that folder.
- Delete a folder. Beware however that when you delete a folder, you also delete all the emails inside that folder!
Are you still having issues creating your own email folders with Mailfence? Contact our support.