Custom email filters are the best way to keep your inbox organized.
In this guide, we will cover how to create your own filters in your Mailfence account.
What is an email filter?
Simply put, a filter is a rule you configure for an incoming email to perform a specific action. For example:
- If there is a specific keyword in the Subject, delete the email.
- If the sender is from a specific domain, move the email to a given folder.
Filters allow you to manage your inbox seamlessly and with much less manual operations.
How do I create an email filter?
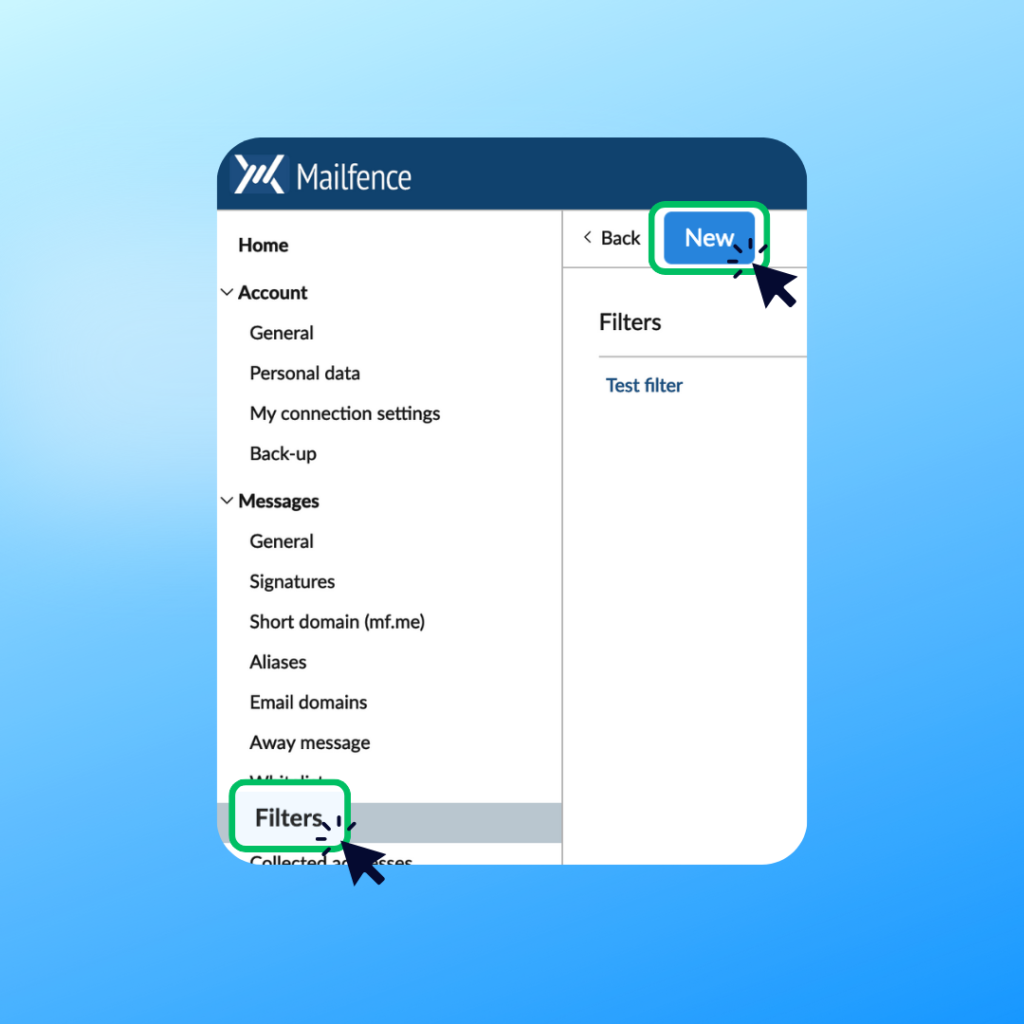
To access your filters, navigate to Settings > Messages > Filters.
There, click on New.
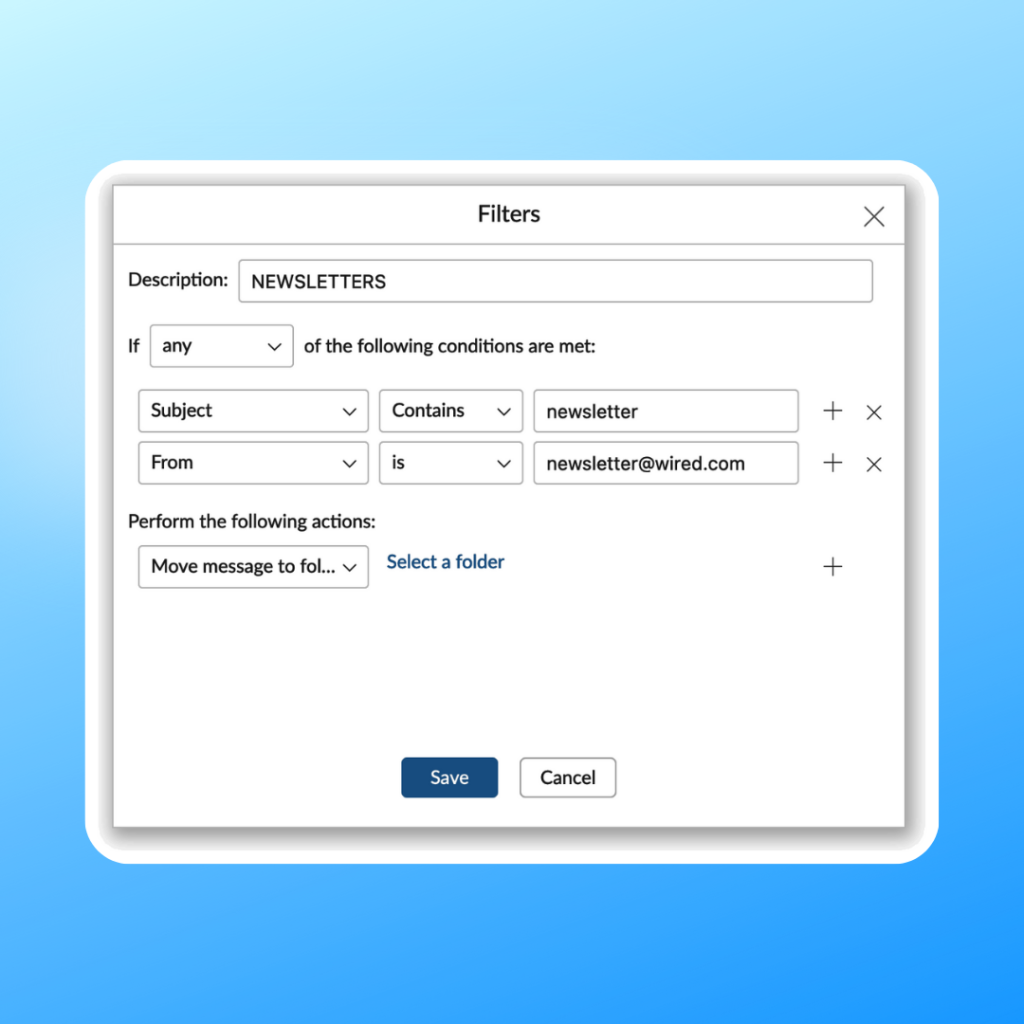
Next, you will need to create the rule for your filter:
- Description: Give a name to your filter so you can identify it easily (for example, “Newsletters”).
- Condition: Set at least one condition for your filter. You can set multiple conditions, and decide if all or some need to be fulfilled.
- Actions: Decide what should happen to an email that fulfills the conditions. You can set multiple actions if you want.
Depending on your account subscription, you can create the following number of filters:
- Free: 0
- Base: 50
- Entry: 50
- Pro: 50
- Ultra: 100
And what about whitelisting?
Whitelisting is a type of filtering that bypasses Mailfence’s antispam.
Whitelisting will allow you to deactivate the anti-spam filter on domains and addresses you want to get in your inbox.
Navigate to Settings > Messages > Whitelist. Then, set the domain or individual email addresses you wish to get to your inbox.
Are you still having issues creating your custom filters? Contact our support.