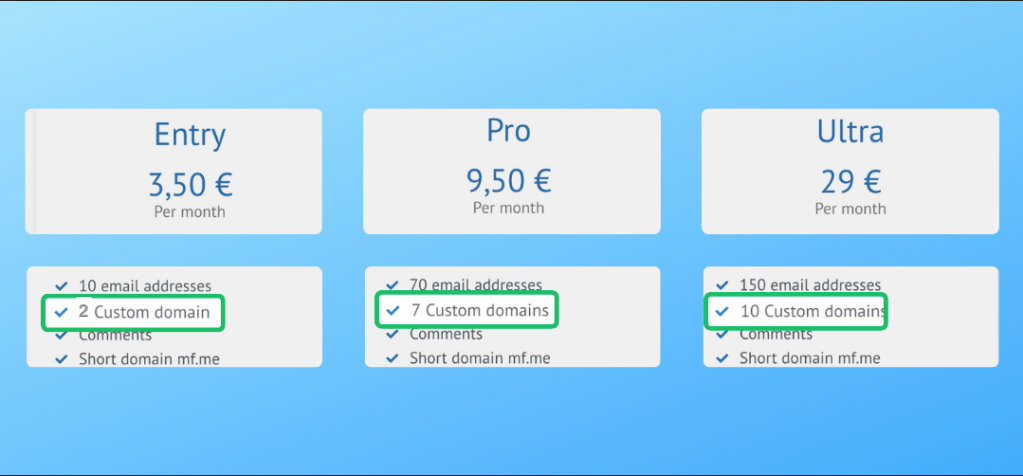
Yes, we do support having your own custom (or vanity) domain-based address(es) in paid plans.
Important to note
- The domains foo.example.com and example.com will be counted as two separate domains, each with its own DNS records.
- Ensure your account’s reset/notification address is not linked to the domain you are adding. If it is, please update your reset/notification address to a different service (e.g., notmydomain.com). Since the DNS MX records for the domain you plan to add will point to our servers, this step is crucial for maintaining the ability to reset your password in the event of an account compromise.
Steps to configure your domain for sending emails using Mailfence
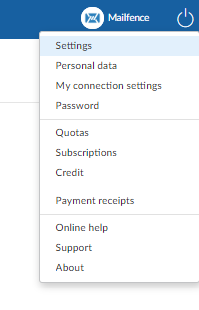
1. Go to account Settings.
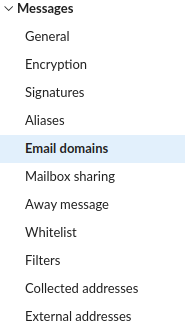
2. Navigate to Messages -> Email domains.
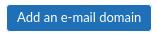
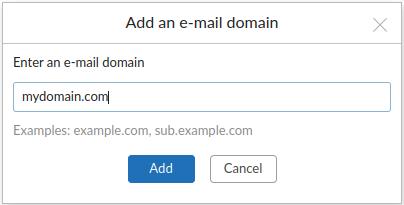
3. Click on Add an e-mail domain.
4. Write down your domain name and click on Add.
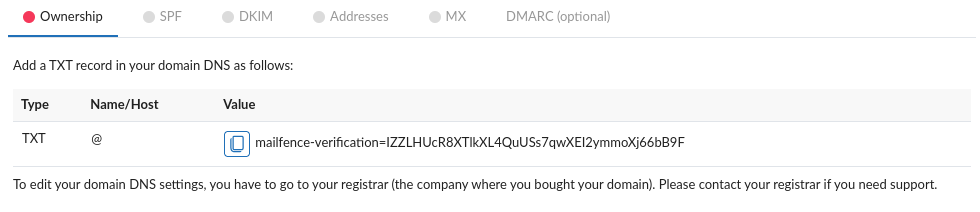
5. Perform the domain ownership verification check: Add the provided DNS TXT record and click on Verify to proceed.
6. Setup DNS SPF & DKIM records by following steps from this KB article, to ensure deliverability of your emails. This is a compulsory step.
Steps to configure your domain for sending and receiving emails using Mailfence
7. You can now create your domain based email address(es) as an alias to your Mailfence account, by clicking on New.

- This is a compulsory step if you already use your domain for e-mails, otherwise incoming e-mails to your domain based e-mail address(es) will be lost. Please note, by default:
- Emails sent to postmaster@mydomain.com will arrive in the mailbox of mydomain.com domain owner.
- Emails sent to abuse@mydomain.com will not arrive in the mailbox of mydomain.com domain owner. This address is reserved for anti-abuse reasons.
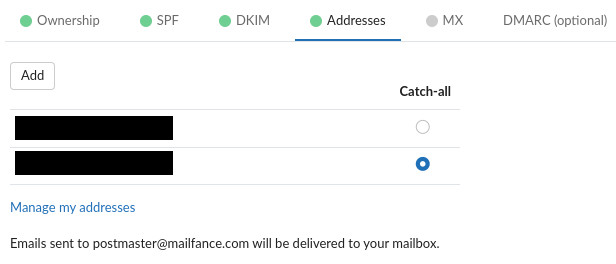
8. Optional: To set up a catch-all address for your domain, select any of the existing addresses in the catch-all column.
9. Add both of the provided DNS MX entries in your domain DNS records.
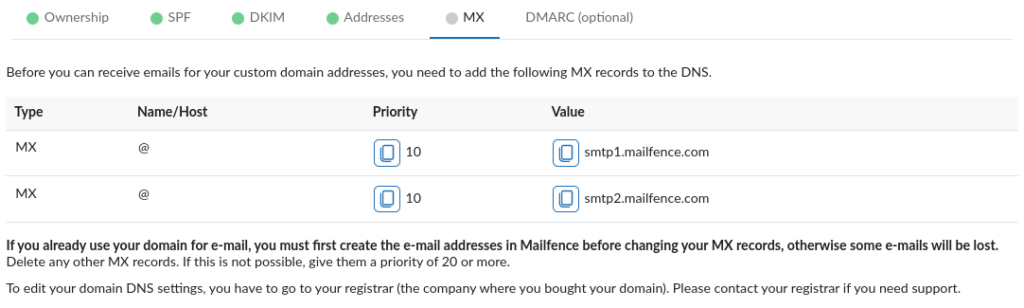
- Make sure you enter the same preference value (e.g. 10) in both of the MX records to facilitate load balancing and fail over on Mailfence’s side.
- In some cases (depending on your domain DNS record manager), you will have to add the ‘.’ (dot) at the end of the MX records. Without them, the MX records will be faulty e.g., (smtp1.mailfence.com.mydomain.com).
After following above steps, you will be able to send and receive emails using your domain based address(es).

Notes
- Setup DNS (report-only) DMARC record by following steps from this KB article to receive DMARC reports indicating spoofing attempts of your domain based addresses. You can also setup a MTA-STS policy for your domain if you have a hosting available.
- You can create/manage other user accounts, and assign the email address(es) based on your custom domain.